I’ve been enjoying using starship rs to enhance my terminal experience on Ubuntu. It’s a minimal, blazing-fast, and infinitely customizable prompt for any shell. Written in Rust of course.
Process
- A Nerd Font installed and enabled in your terminal (love FiraCode Nerd Font). from this post ,
wget https://github.com/ryanoasis/nerd-fonts/releases/download/v3.4.0/FiraCode.zip
# Unzip the file downloaded
filename=FiraCode.zip
extension="${filename##*.}"
filename="${filename%.*}"
mkdir ${filename} && pushd ${filename}
unzip ../${filename}.${extension}
popd

# Moving to the correct location and update font cache
# Now, let's create a .fonts directory and move the new font there

mkdir -p ~/.fonts
mv ${filename} ~/.fonts/

# Last, but not least, we need to update Ubuntu's font cache

fc-cache -fv
Then check to see if they all landed well with fc-list :family | sort | uniq
- Then install starship with
sudo curl -sS https://starship.rs/install.sh | shto install starship. or justsudo apt install starship - Add the following line to your shell’s configuration file to initialize Starship:
eval "$(starship init bash)"for bash oreval "$(starship init zsh)"for zsh- Restart your terminal or run
source ~/.bashrcorsource ~/.zshrcto apply the changes.
While I’m here, on Windows, stick the init thing for bash into a .profile file instead of .bashrc
-
Configure Starship to your liking by creating a
~/.config/starship.tomlfile. You can find the configuration options in the Starship documentation.mkdir -p ~/.config && touch ~/.config/starship.toml- then maybe apply some presets from here
- Though on my most recent deployment, I opted for a more minimal setup because I like the CLI icon better
Progress
I’m too lazy to customize starship much, mostly because I like the default prompt.
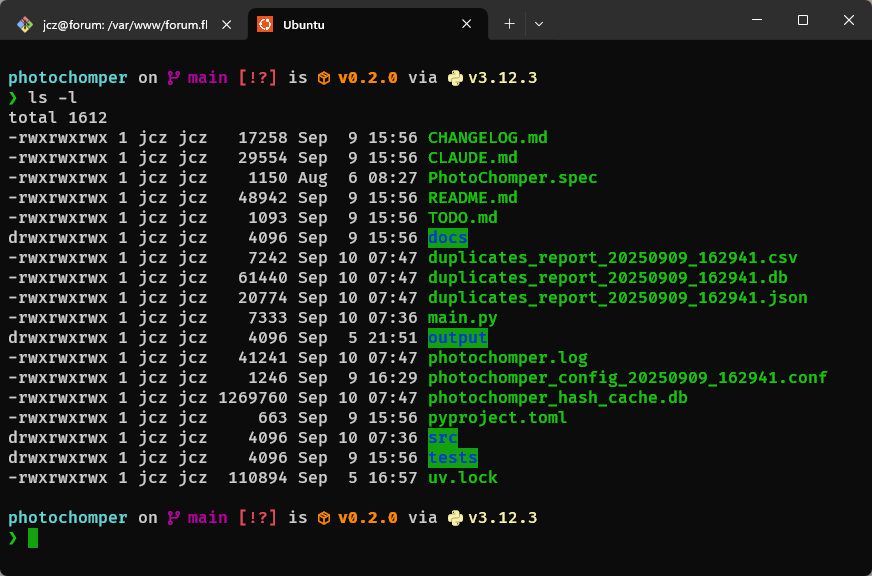 Here is starship running on “Linux” via Windows using WSL2
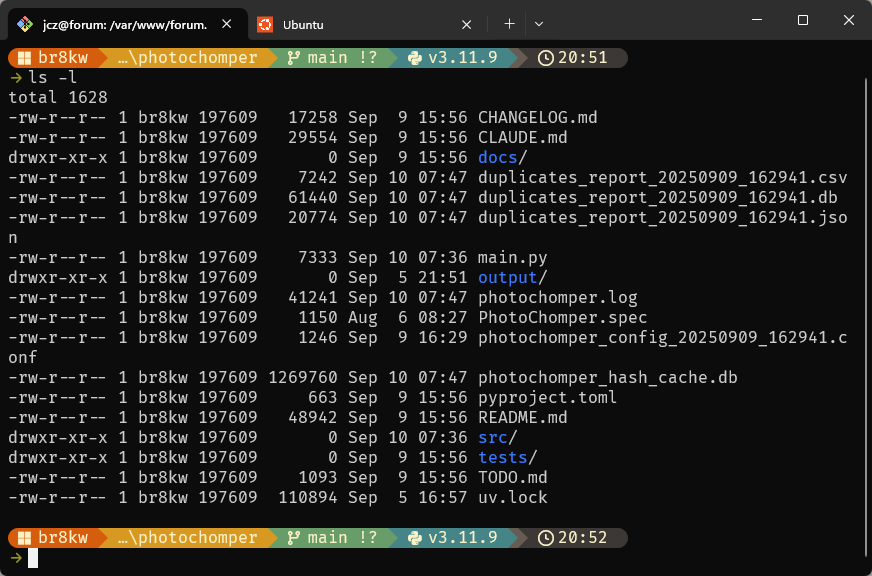 This is also starship except running on bash shell under windows showing the same directory