This is a very early post. The post, the process, and the product are very much in progress. Check back for updates as I learned more.
I’ve been doing GIS since 1994 and began with a platform then called TNTmips. They have these great documents for learning the platform and they had a free viewer called TNTatlas that you could customize and distribute to clients, along with data. It was a great way to share data and maps with clients who didn’t need all the tools of the full TNTmips platform. I haven’t seen anything like that in other GIS platforms, so I wondered if I could do something similar with QGIS.
I’ve been using QGIS for years and have customized it to my liking. I recently wanted to make a simplified version of QGIS that I could use as a data viewer for clients who don’t need all the tools and options that QGIS provides. I also wanted to make it easy to move between computers and operating systems (Windows and Linux).
Process
Mr. AI says the following. Clearly I’ll have to clean this up.
- Install all the things you want in your custom QGIS. This includes plugins, settings, and any other customizations you want to make.
- Create a geopackage with your favorite base maps and data to include in the custom QGIS.
- Connect to the geopackage and set up favorite layers and styles.
- Add any other data sources you want to include in the custom QGIS.
- Save the QGIS project into the geopackage.
- Customize the QGIS interface to remove unnecessary toolbars, panels, and menus.
- Set default project settings, such as coordinate reference systems and snapping options.
- Install and configure any plugins that you want to include in the custom QGIS
- Set up any custom styles, symbols, or templates that you want to include in the custom QGIS.
- Configure any other settings or options that you want to include in the custom QGIS.
- Locate your QGIS profile folder. This is where all your settings and customizations are
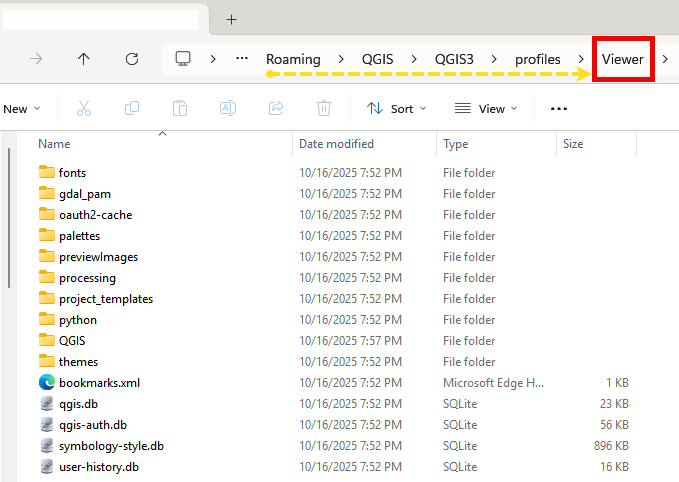
- Copy the profile folder to a new location. This will be your custom QGIS profile.
- Create a batch file (Windows) or shell script (Linux) to launch QGIS
- Distribute the custom QGIS profile and the batch file/shell script to your clients.
- Instruct your clients to place the custom profile folder in a location of their choice and run the batch file/shell script to launch QGIS with the custom profile.
- Enjoy a simplified QGIS experience!
- When you need to update the custom QGIS, simply update your original QGIS installation and copy the updated profile folder to your custom location.
- Redistribute the updated custom QGIS profile and batch file/shell script to your clients.
- Instruct your clients to replace their existing custom profile folder with the updated one and run the batch file/shell script to launch the updated QGIS with the custom profile.
- Repeat steps 8-10 as needed to keep your custom QGIS up to date.
- Consider using a version control system (like Git) to manage changes to your custom QGIS profile and batch file/shell script. This will make it easier to track changes and revert to previous versions if needed.
- Document any customizations or changes you make to the custom QGIS profile and batch file/shell script. This will help you remember what you’ve done and make it easier to share with others.
- Test the custom QGIS profile and batch file/shell script on different computers and operating systems to ensure compatibility and functionality.
- Provide support and assistance to your clients as needed to help them use the custom QGIS effectively.
- Gather feedback from your clients to improve the custom QGIS experience and make any necessary adjustments.
- Share your custom QGIS profile and batch file/shell script with the QGIS community
- Consider creating a website or repository to host and share your custom QGIS profile and batch file/shell script with others who may find it useful.
- Stay up to date with the latest QGIS releases and updates to ensure compatibility with your 20. custom QGIS profile and batch file/shell script.
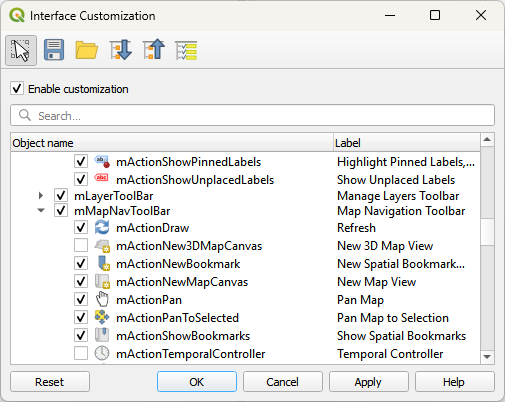
Use the control to click on parts of the toolbar that you want to remove. Then uncheck boxes in the list below to remove others. Shutdown QGIS with the modified profile loaded, then start it again to load that profile.
Progress
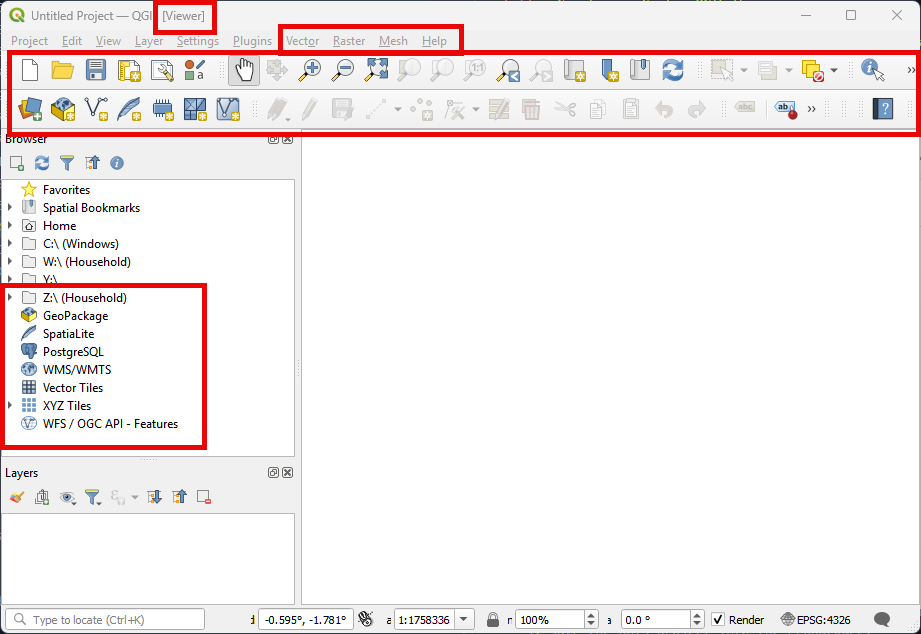 Highlighting parts of the UI that were simplified